
How to get a body like Gwen Stefani: Full-body athletic workout
Gwen Stefani
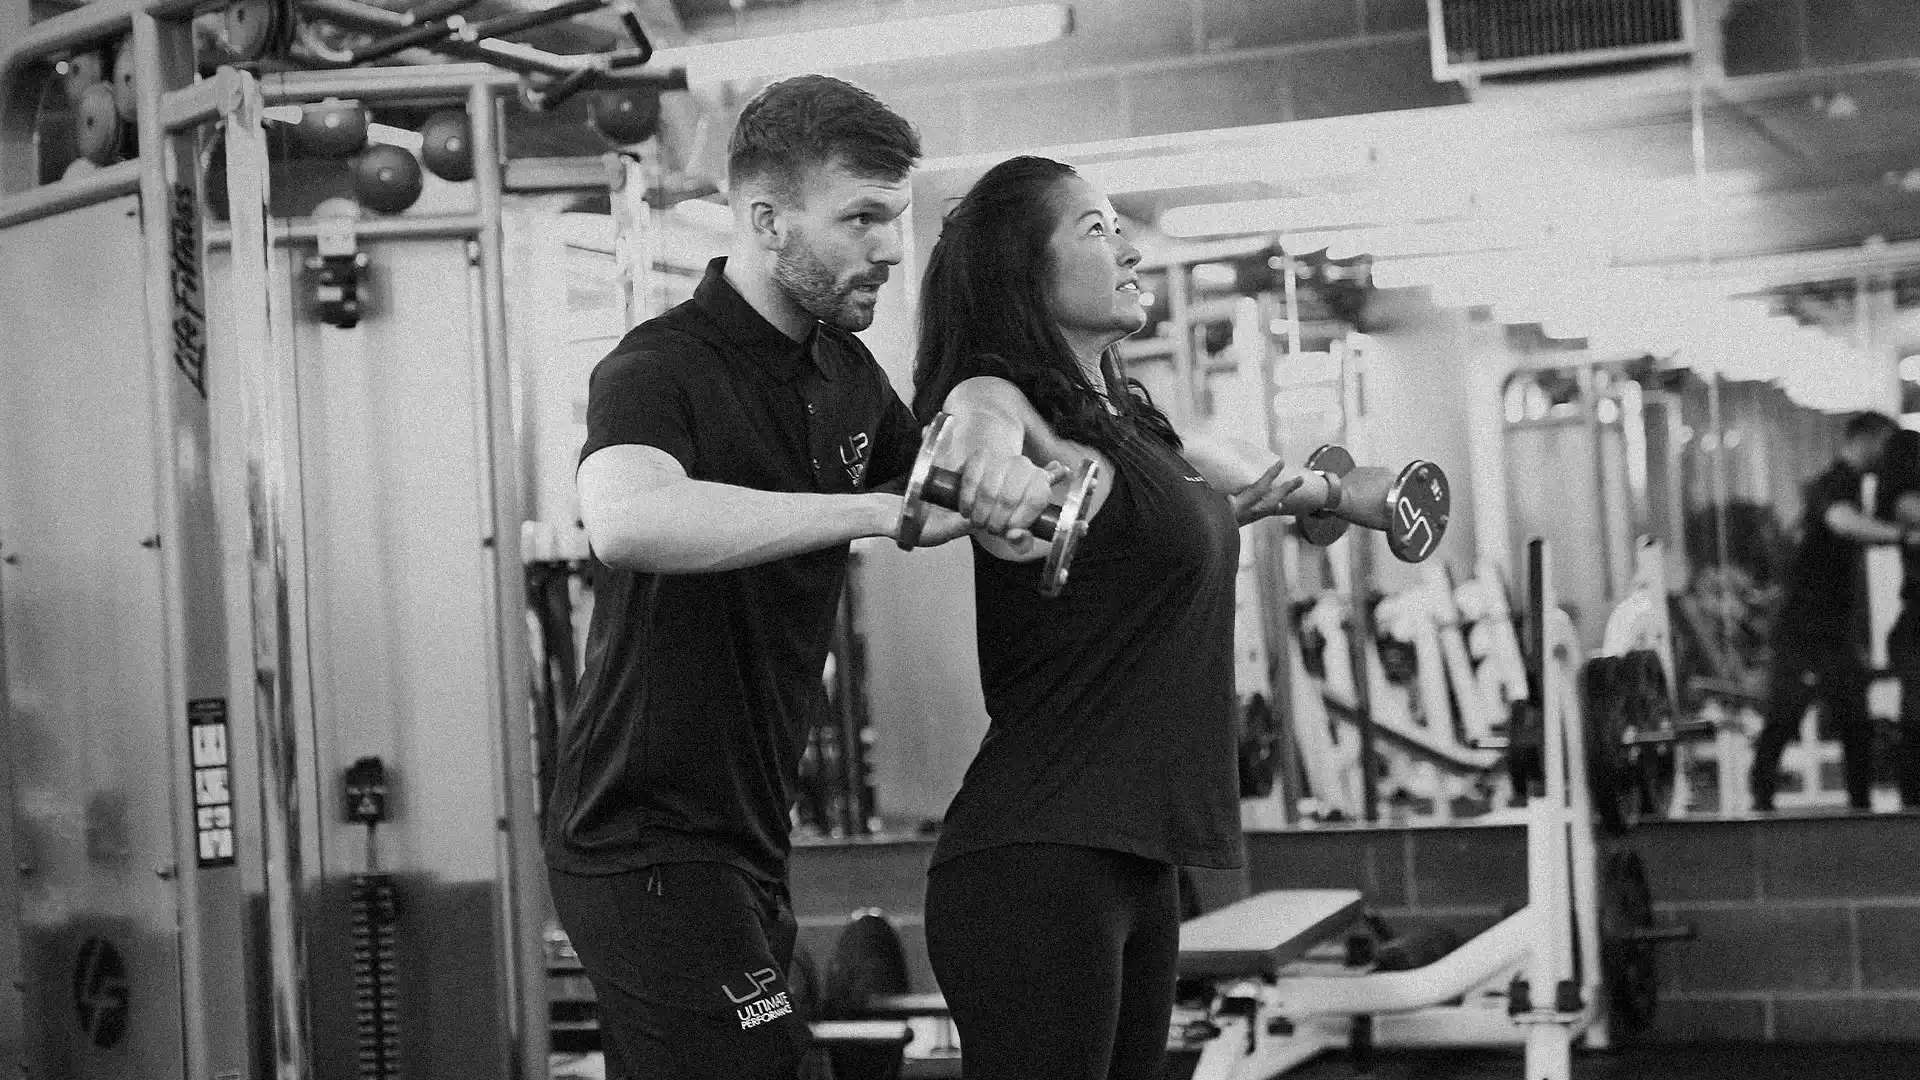
Gwen Stefani at 56 looks as good as she did fronting No Doubt in the nineties – and that's not an accident. Across four decades of performing, touring and recording, she has maintained one of the most consistent physiques in music: a slim waist, defined arms, visible abs and the overall athleticism required to headline festival stages worldwide.
For women at Ultimate Performance who want to understand what truly sustainable fitness looks like, Stefani is one of the most compelling references going. Her body is the product of a lifetime of consistent training and disciplined nutrition, maintained through marriages, three children, a solo career, a Las Vegas residency and a festival circuit that keeps her performing at the highest level well into her fifties.
The key – and it's one that clients at Ultimate Performance discover quickly – is resistance training. The outdated idea that weight training makes women bulky has long been replaced by the reality our trainers see every day: progressive, intelligent strength work is what creates the lean, athletic, defined look that Stefani embodies. Not hours of cardio or crash diets. Just the basics, done consistently and done well.
This full body workout is designed to build exactly that – strength, definition and the kind of athletic conditioning that holds up for the long-term.
The Gwen Stefani workout
Full body athletic
How to perform the exercises
This guide is aimed at trainees with a good knowledge of the exercises and how to train safely and effectively.
To start your life-changing body transformation today, visit any one of our gyms around the world or begin your online training program.
The set-up
- Stand with your feet shoulder-width apart and one stride length away from the platform.
- Place your hands on your hips and tuck your elbows in if you are performing bodyweight split squats. Alternatively, if using dumbbells, let them hang by your sides with your palms facing inwards.
- Step forward with your front leg and plant your foot flat on top of the platform.
- Raise the heel of your back foot so that only your toes are touching the floor with shoelaces facing down. Both your hips and back heel should be straight.
- This is the start and finish position for each rep.
The movement
- Drop your back knee down towards the floor and push your front knee forwards to close the gap between your hamstrings and calf.
- In the bottom position, your front foot should be flat and your back knee bent at 90 degrees and one to two inches above the floor.
- Pause for a moment keeping your upper body braced and tension in your legs.
- Push through both legs to reverse the motion and return to the start position.
- Repeat for the desired number of reps and then switch sides.
Trainer tips
- Start with your weaker leg forwards first and perform the same number of reps on both sides.
- If your stride length is too short, then the heel of your front foot will lift in the bottom position. But, if it is too long you will feel an uncomfortable strain on the thigh of your back leg.
- Take 30 to 60 seconds rest when changing sides to let any tiredness in your back leg pass.
- A common mistake when performing the front or rear foot elevated version of the split squat is not using the extra range-of-motion made possible by the raised platform. Your back knee should drop lower than on the flat foot version, but only if you can comfortably get into this position. If you cannot, then stick to the flat foot version.
The set-up
- Pick up the dumbbells using a neutral grip and sit on the bench with them resting on your thighs, close to your hip crease.
- Position your feet shoulder-width apart, under or behind your knees and flat on the floor.
- Lie back, using your thighs to help get the dumbbells into position level with your chest.
- Hold the dumbbells directly above your elbows, with your upper arms at an angle of 45-60o to your torso.
- Point your chest up towards the ceiling and pinch your shoulder blades back together.
- Your head, shoulders and glutes should be touching the bench, and there will be a small gap between your lower back and the bench.
- This is the start and finish position for each rep.
The movement
- Press both dumbbells directly upwards until you have fully extended your arms overhead.
- Reverse the motion, under control, to return to the start position.
- You have reached the end of your range of motion when you cannot lower your elbows any further below shoulder height without your chest collapsing and shoulders rotating inwards.
- Pause for a moment before repeating for the desired number of reps.
- On the last rep, lower the dumbbells to the start position, tuck your elbows in and sit forwards using your legs to help generate momentum. Alternatively, your training partner can help by taking one dumbbell from you at a time.
Trainer tips
- The dumbbells should not clang together at the top position.
- A common mistake is for your shoulders to become loose and shrug upwards at the top of the movement. This reduces stability and shifts tension away from your chest and onto your shoulders and triceps. Focus on pushing yourself away from the dumbbells, instead of pressing them away from you.
- Be careful not to push your head back into the bench, as this can strain your neck.
The set-up
- Position a flat bench in an open space and secure it with something heavy to prevent it from sliding forwards.
- Sit straight legged on the floor with your upper back resting on the bench just under the shoulder blades.
- You can perform this exercise with body weight only, or you can use a single dumbbell or barbell for added resistance.
- Tuck your feet in towards your buttocks. Keep your feet flat and roughly shoulder-width apart.
The movement
- Drive your hips up towards the ceiling, pushing through your heels and squeezing your glutes. Keep your knees in line with your toes.
- In the top position, your hips should be fully extended, and your torso should be parallel to the floor.
- Pause for a moment and focus on contracting (squeezing) your glutes.
- Lower your hips down towards the floor. You have reached the end of your range of motion when you cannot move any further without your lower back rounding or knees rocking backwards.
- Repeat for the desired number of reps.
Trainer tips
- With the correct foot position, your shins should be close to vertical at the top of the movement. Use the warm-up to experiment and find the position where you feel your glutes the most.
- A common mistake is not getting enough of your back on the bench, which increases the chances of sliding off! The bottom of your shoulder blades should be digging into the edge of the bench and will act as a pivot point during the movement.
- Be careful not to overextend at the top of the movement by arching your lower back.
The set-up
- Grip the cable attachment with either a neutral or overhand shoulder-width grip and sit down on the bench with your upper thighs securely positioned under the padding.
- Sit up as tall as possible with your arms fully extended above your head but avoid shrugging your shoulders up by your ears.
- This is the start and finish position for each rep.
The movement
- Keeping your torso still, pull your elbows down towards your waist while squeezing your shoulder blades back together.
- You have reached the end of your range of motion when your elbows cannot travel any further without your shoulders rotating inwards and upper back rounding.
- Pause for a moment and focus on contracting (squeezing) your upper back muscles.
- Reverse the motion, under control, to return to the start position.
- Repeat for the desired number of reps.
Trainer tips
- Adjust the thigh pads so that when you are in position there is no gap between your upper thighs and the pad.
- Do not lean back more than one to two inches, as this changes the emphasis of the exercise turning it into more of a row-like movement than a pull-down.
- Make sure to use weight lifting straps to stop your grip strength from limiting how much weight you can lift and forearm fatigue distracting you during a set.
The set-up
- The first step is to adjust the machine settings to suit you:
- Adjust the thigh pad to the incline setting.
- Adjust the machine lever (up or down) so that when you lie face down on the machine with your lower legs hooked underneath the ankle pad your knees are just short of full extension.
- Position yourself (up or down) so that your knees line up with the machine pivot point.
- Grip the handles, lift your chest slightly, press your hips down into the pad and point your toes up towards your shins.
- This is the start and finish position for each rep.
The movement
- Push your thighs down into the pad and curl your legs up towards your buttocks.
- You have reached the end of your range of motion when your knees are fully bent, or you cannot move any further without your hips or thighs lifting off the pad.
- Pause for a moment and focus on contracting (squeezing) your hamstrings.
- Reverse the motion, under control, to return to the start position.
- Repeat for the desired number of reps.
Trainer tips
- If you feel this movement in your calves try point your toes toward your shins during the movement to avoid this.
- Pulling the handles hard with your arms helps to keep the rest of your body in place.
The set-up
- Adjust the cable to the highest setting and attach two standard length rope attachments.
- If performing the standing version, hold the ropes with a neutral grip and take three to four steps back from the station. Position your feet shoulder-width apart, push your hips back and bend forward at the waist so that your torso is at a 45-degree angle to the floor.
- Fully extend your arms out in front of you with your elbows slightly bent. Move further back if you cannot do this without the weights hitting the stack.
- This is the start and finish position for each rep.
The movement
- Keeping your torso still, draw your elbows down towards your waist while squeezing your shoulder blades back together.
- You have reached the end of your range of motion when your elbows cannot move any further back without your upper back rounding and shoulders rotating inwards.
- Pause for a moment and focus on contracting (squeezing) your upper back muscles.
- Reverse the motion, under control, to return to the start position.
- Repeat for the desired number of reps.
Trainer tips
- A common mistake is extending your elbows (like a cable triceps extension) to help finish the movement. The slight bend in your elbows should stay the same throughout the movement.
The set-up
- Lie on your back on an exercise bench with your knees bent and feet lifted in the air with a 90-degree angle at the hip and knee joint. There should be a slight arch in the lower back.
- Grip the bench under your head for stability.
The movement
- Think about engaging your abdominal muscles and curling the pelvis and knees up off the bench. Focus on shortening the distance between your sternum and belly button.
- You have reached the end of your range of motion when you cannot move any further without lifting your rib cage off the bench.
- Pause for a moment and focus on contracting your abdominal muscles at the top of the movement. Reverse the motion under control to return to the start position.
- Repeat for the desired number of reps.
Trainer tips
- You can use a core pad or Bosu ball to increase the range of motion for the exercise.
The set-up
- Set the bench to an incline of 75-80 degrees.
- Pick up the dumbbells, straddle the bench and lean into it so that your torso angle matches the bench angle.
- Hold the dumbbells with a neutral grip and let your arms hang by your sides with a small bend in your elbows.
- This is the start and finish position for each rep.
The movement
- Push the dumbbells out to your sides while keeping your shoulders depressed. Your elbows should travel just in front of your shoulders.
- You have reached the end of your range of motion when you cannot lift the dumbbells any higher without your shoulders shrugging upwards.
- Pause for a moment before reversing the motion, under control, to return to the start position.
- Repeat for the desired number of reps.
Trainer tips
- Performing this exercise with your chest supported on a bench will help you to maintain a stable torso position and to focus on the movement.
- A common mistake is externally rotating your arm on the upwards movement. This compensation pattern shifts tension from the medial deltoid and onto the stronger anterior deltoid. Focus on keeping the back of your hands facing up at all times.
Why this workout works
This full-body workout incorporates our German-Body Composition (GBC) training method for an efficient yet effective workout. Its key benefit lies in performing it several times each week, so you can target each muscle group multiple times, a key factor for effective progress.
Take note of the tempo for this workout and track your progression. Like music, practice makes perfect. The tempo of each exercise will allow you to hit a good training intensity safely.
This workout is a hit, and like any hit record, you can repeat this three or four times per week.